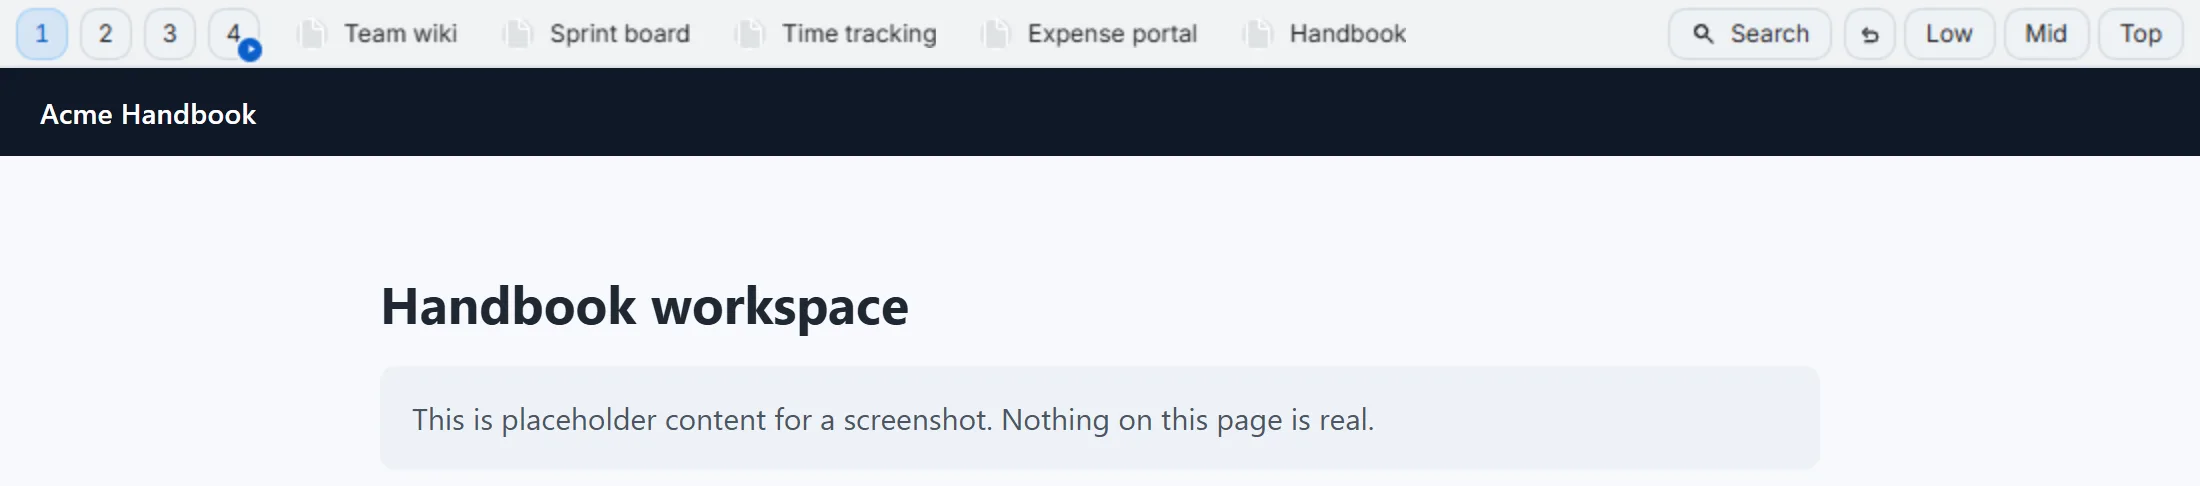
Add the extension from the Chrome Web Store and a second row appears above every page you visit — it pushes the page down, it never overlays it. The bar reads folders that already exist in Chrome’s own bookmarks, so there’s nothing to import and nothing new to learn about where your bookmarks live.
What happens on install
A short onboarding tab opens automatically the first time. It’s a one-minute tour of the bar’s main pieces — slots, search, save. If you close it before finishing, the toolbar popup offers Finish the 1-minute tour for the next 7 days, then quietly stops asking.
Put your own folders on the bar
The bar starts with two starter folders so it isn’t empty on day one. To swap in your own:
- Open Settings (see below).
- Go to Folders.
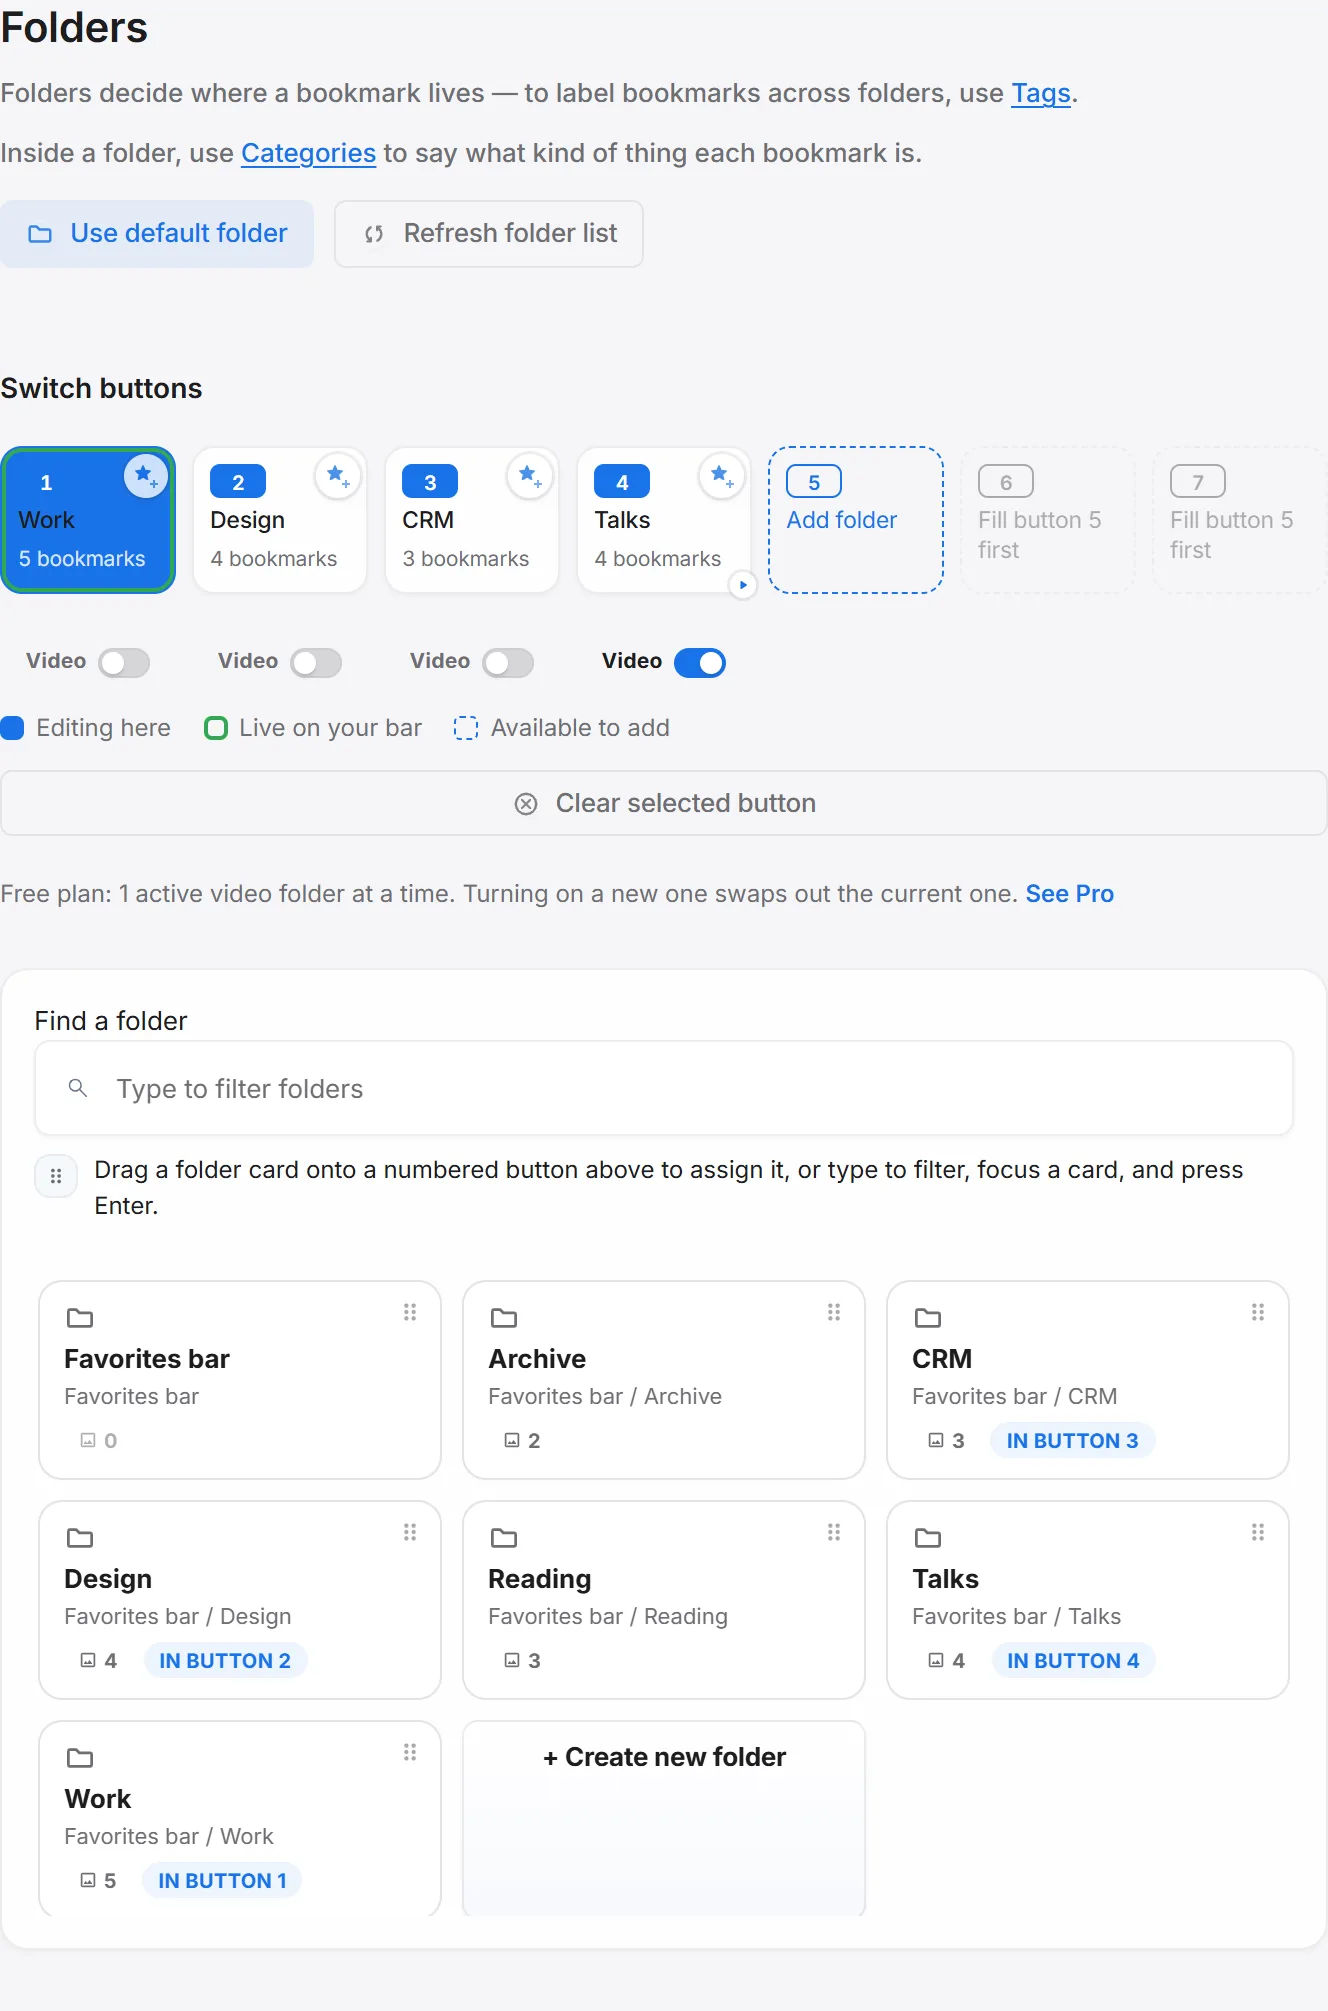
- Drag any folder card onto one of the numbered buttons at the top, or click a numbered button and then click a folder card.
Each numbered button is a “slot” — a folder pinned to a single click or keyboard shortcut. Quick-switch slots covers how switching between them works.
Where Settings is
Two ways in:
- Click the extension’s icon in the toolbar, then Open settings.
- Right-click the extension’s icon and choose Options.
Good to know
The bar doesn’t show up everywhere by default. Seven Google properties — meet.google.com, gemini.google.com, aistudio.google.com, console.cloud.google.com, accounts.google.com, docs.google.com, and drive.google.com — are excluded out of the box, since a second bar tends to get in the way of tools that already use every pixel of vertical space. You can add to or remove from this list any time — see Hide the bar on some sites.